Rolling Perfect Joints: Tips, Tricks, and Everything You Need to Know
Posted by DaySavers Team on Oct 25th 2023
There’s perhaps no more popular way to consume cannabis than with the humble joint. Joints have been holding down cannabis users for generations. With time, they’ve evolved and transformed into the joints that we know today.
Kief joints, oil-infused joints, and hemp wraps are all cannabis products that are readily available in dispensaries far and wide. Yet, through all this time, there’s something so alluring about rolling your joint by hand. The satisfaction that it brings to prepare each of the steps yourself.
Rolling joints by hand has become a routine for many, and in this post, we’ll be exploring this process step-by-step with expert tips so you won’t be left out of the joint rolling festivities.
Start With the Papers
Learning how to roll the perfect joint begins with understanding the fundamental components: rolling papers, filters and, of course, the herb itself. The choice of rolling papers and how you handle them can significantly influence the quality of your smoking experience.
You're spoiled for choice regarding rolling papers, especially here in this blog! The most common options include:
- Classic Rolling Papers: Made from wood pulp and called “rice paper,” because of their color and thinness (but not made at all from rice), classic rolling papers are a versatile choice for most smokers. They tend to be thin and are known for their slow burn, preserving the flavor of your herb.
- Hemp Rolling Papers: Made from hemp fibers, these rolling papers are celebrated for their environmentally friendly nature. They offer a slightly sweeter and earthier taste compared to classic papers. Hemp papers also tend to burn more slowly, providing a more extended smoke.
- Flavored Papers: To add some additonal taste to your joint, consider flavored papers. These come in various flavors, from fruity to herbal, elevating the overall taste of your smoke.
- Natural Brown: Natural Brown rolling papers are less processed than their refined white counterparts. Often called "unbleached," this is a misnomer as white rolling papers also contain no bleach and are simply refined further to lose slightly brownish color. The additional refinements also take out material that add to the taste of the papers, giving Natural Brown papers a little more flavor.
Choosing the Right Rolling Paper: Selecting the right rolling paper depends on personal preference and your desired smoking experience. Here are some factors to consider:
- Flavor: If you want to taste the full flavor of your herb, opt for classic or refined white papers. Flavored papers can be a fun choice if you prefer a subtle infusion of flavor as the smell interacts with your taste preceptors to give the allusion of flavor.
- Environmental Impact: If eco-friendliness is a priority, choose hemp papers made from renewable resources.
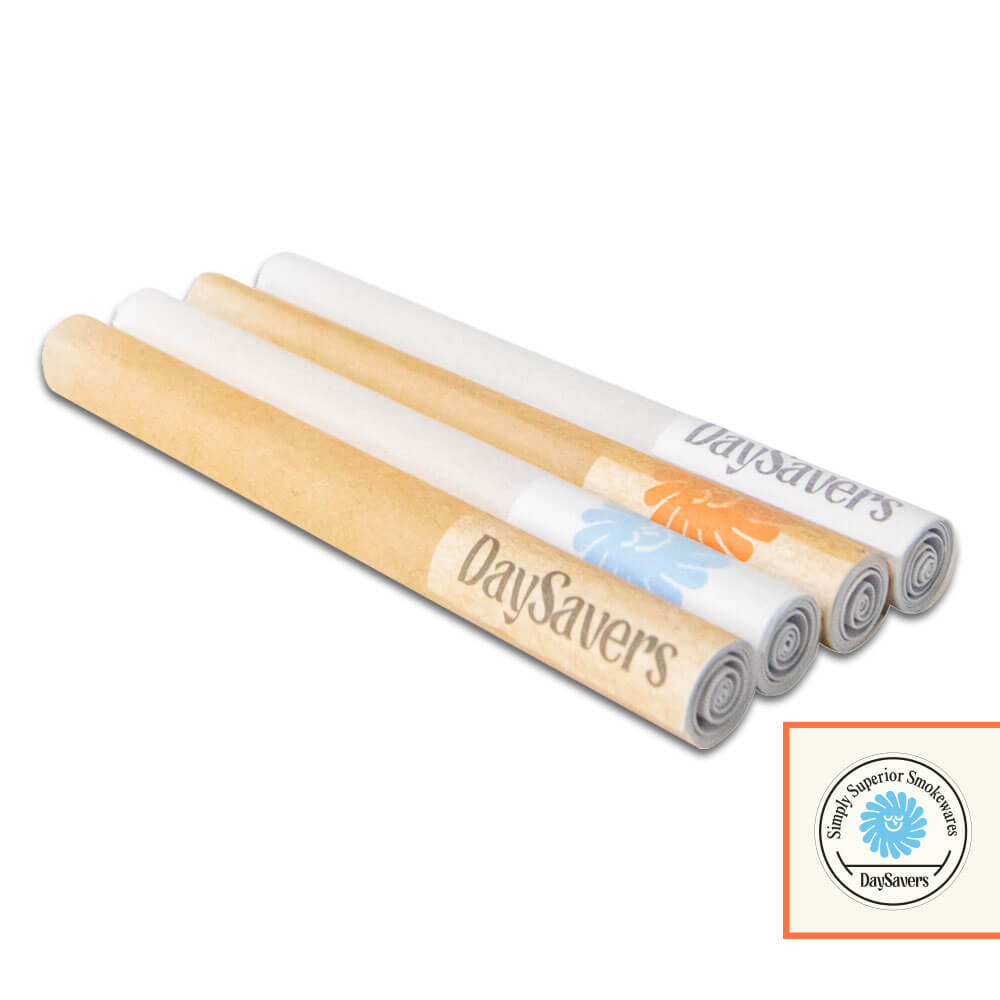
- Chemical Concerns: Product quality and compliance are paramount considerations in the world of rolling papers. Ensuring the safety and purity of your smoking materials is crucial. When choosing rolling papers, prioritize products that align with strict industry standards and emphasize quality assurance. All three DaySavers products, for example, are tested beyond industry beyond even the highest industry standards for pesticides, heavy metals and microbials to ensure they are as clean and safe as possible.

Testing
Unlike completed pre-rolls available in retail shops, pre-roll cones and rolling papers are not required by regulation to be lab-tested. Because of that, not all rolling papers are created equal. All Custom Cones USA papers, including the DaySavers, Fill-A-Blunts and Smoke Temple products, are tested for heavy metals, petsicides and microbials by a third-party lab that goes above and beyond even the strictest industry standards in the United States and Canada so you can be sure that the papers in your joint are the best-tested on the market.
Understanding the various types of rolling papers and how they affect your smoke is essential for the best results. Experiment with different paper types to find the one that complements your preferences and enhances your overall joint-rolling experience. Once you've chosen the right paper, you can move on to the next step: preparing your herb for rolling.
Prepping Your Flower

With your choice of rolling paper secured, it's time to dive into the heart of joint rolling: preparing your herb. This step is no small detail; it significantly influences the quality and consistency of your smoking experience. One key factor in this process is the grinding of your herb. The goal here is to achieve the perfect consistency, which plays a pivotal role in your joint's overall quality.
The importance of grinding your herb cannot be overstated. It might appear minor, but it significantly impacts your joints. If you grind your flower too fine, it can affect airflow, resulting in bitter or backed-up pulls. If you have big clumps of flowers your joint can burn unevenly and cause waste or canoeing.
Consistency in grinding is critical. You want to achieve that "Goldilocks zone" – not too fine or coarse. It is commonly recommended to twist your grinder seven to ten times, typically with a stainless steel or metal alloy grinder. However, this heavily depends on the flower you have at your disposal, so it’s going to take some trial and error.
We’ve ground up our flower nicely. Don’t forget that most grinders have a bottom section where kief is collected. Don’t get loosey-goosey with this compartment, or you may drop all those precious crystals! You can immediately remove the kief and add it to your joint, or save it for later.

Now, let's remember the filter, often called a crutch or tip. It's more than just structural support; it also plays a crucial role in preventing small bits of ground flower from ending up in your mouth. You can purchase pre-made filters from most smoke shops or craft your own using cardboard, an index card or rolling paper. Ensuring the right consistency in your herb and employing a filter are essential steps in the process, and they'll set the stage for you to master the art of rolling your joint.
Rolling Your Joint
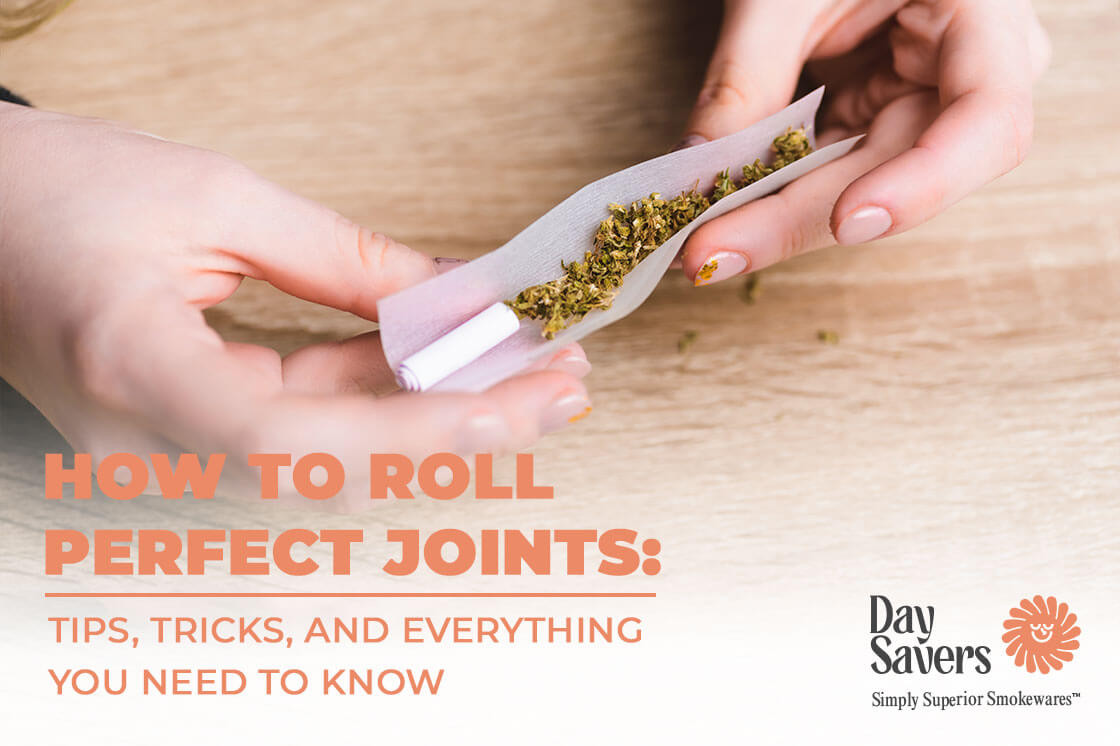
Now that you have your rolling paper selected and your herb adequately prepared, it's time to begin rolling your joint. This step-by-step guide will walk you through the process, ensuring you achieve that perfect roll.
- Set Up Your Working Space: Prepare your materials on a flat surface, preferably a rolling tray. Have your rolling papers, ground flower, a filter tip, and a small tool to help you pack (a poker, chopstick, paper scoop, or debit card will work fine).
- Prepare Your Filter: Fold one end of a cardboard or rolling paper strip into a "W" shape, leaving the rest of the strip as a straight edge. This "W" shape will serve as the filter, and the straight edge will be inserted into the joint.
- Evenly Distribute the Herb: Place your rolling paper on your clean working surface. Hold the paper with the adhesive strip on the side away from your body and facing up. Distribute the ground herb evenly along the paper's length, leaving some space where the filter tip will go at the end.
- Tuck and Roll: With the filter tip in place and the herb encased in the paper, it's time to start the "tuck and roll" process. Tuck the end of the paper closest to you over the herb, using your thumbs to guide the paper while your fingers hold the herb in place. Continue rolling the paper, ensuring it wraps snugly around the herb and filter. The goal is to create a cylinder shape with the herb enclosed. This might take some practice.
- Seal the Joint: To seal the joint, lick the adhesive strip on the paper or use a small, moist sponge if preferred. Carefully press the adhesive strip onto the joint, ensuring it adheres securely. You can also use a rolling machine to achieve a tight seal.
- Pack and Shape: Once your joint is sealed, use a small, flat tool to pack and shape the herb for an even burn. Ensure the joint is firm but not too tight, which can affect airflow.
- Twist the End: With the joint rolled and shaped, you can twist the open end to keep the herb inside. This is also known as the "twist" finish. With practice, you can also try to create the Dutch Crown end.
- Light and Enjoy: Your joint is now ready to be lit. Use a lighter, match, or hemp wick to evenly light the tip, ensuring a smooth and consistent burn. First, torch the end of the joint, then rotate your joint while inhaling and lighting to ensure an even burn.
You'll be well on your way to rolling the perfect joint by following these steps with precision and practice. Remember that practice makes perfect in this craft, so don't be discouraged if your initial attempts aren't flawless. The more you practice, the closer you’ll get to that ideal roll.
Tips and Tricks on How to Roll a Joint
- Rolling the perfect joint goes beyond the basics. Mastering the finesse and the lesser-known tips and tricks can elevate your rolling game. Here, we'll delve into expert insights to help you roll like a pro.
- The tuck-and-roll technique is at the heart of joint rolling, and practice makes perfect. Strive to achieve a firm yet manageable roll, ensuring the paper wraps snugly around the herb with no gaps. Before twisting off your joint, tap the filtered end on a flat surface to help pack the flower within.
- For a slower, longer smoke, consider rolling a "cone." This involves placing more herb at the tip and gradually reducing it toward the filter, creating a cone shape, ideal for extended sessions.
- Keeping your flower fresh is essential for a great smoke. Invest in an airtight, UV-resistant storage container to maintain the quality and flavor of your stash.
- Be bold in experimenting with various rolling paper types and materials. Each has unique characteristics, such as flavor, burn rate and eco-friendliness. Find the paper that best complements your preferences and enhances your smoking experience.
- The Dutch crown finish is an aesthetic touch that not only looks great, but prevents small herb particles, known as "Scooby Snacks," from reaching your mouth by removing the possibility for small compartments to collect ash, which can happen with twist finishes. Mastering this finishing style can be a satisfying addition to your rolling repertoire.
- Once you've honed your basic rolling skills, consider getting creative. Explore advanced techniques like the "twax" joint, incorporating concentrates or crafting unique shapes like the tulip or cross joint. These artistic touches can enhance your smoking experience and leave an impression on your friends.
Common Mistakes to Avoid
In joint rolling, perfection comes with practice and avoiding common pitfalls. Overpacking or underpacking can hinder your experience, leading to tight or fast-burning joints. Even rolling aso helps prevent "canoeing."
Choosing the right rolling paper is crucial; thick paper burns slowly, while ultra-thin paper typically burns fast and smoothly. Always use a filter tip to prevent unwanted herb particles from reaching your mouth. Proper sealing is essential; too much moisture makes the paper soggy, and too little results in a loose seal.
Avoid these mistakes to enhance your rolling skills and ensure a smoother, more enjoyable smoke. Remember, practice and learning from these errors will refine your joint-rolling expertise.
Enjoy Your Joint!
All that’s left is to practice. Rolling the perfect joint doesn’t come instantly, it takes practice and patience. Make sure you allow yourself to enjoy the journey of learning this skill.
Once you’re comfortable with rolling don’t be afraid to try something new like kief or concentrate-infused joints or experimenting with flavored papers, as this can be a fun next step in your rolling journey. So, let’s take this guide and bring the best joints to our next session!

Discover the secrets to perfect joint rolling in our comprehensive guide. Learn expert tips, creative techniques, and how to avoid common mistakes for an exceptional smoking experience.


